Introduction
Registering for GST is a mandatory requirement for businesses in India with a turnover above the prescribed threshold, as well as for certain categories like e-commerce sellers, interstate suppliers, and import-export businesses. The entire GST online registration process is now completely digital through the GST portal, making it convenient and accessible for businesses across India.
If you are wondering how to register for GST online, this comprehensive walkthrough guides you through every step of the GST portal registration process. You will learn about required documents, application steps, the verification process, the timeline, and tips for successful GST registration without errors or delays.
Who Needs GST Registration
Before starting GST online registration, understand who is required to register:
Mandatory GST Registration:
✓ Businesses with annual turnover above ₹20 lakh (₹10 lakh for special states)
✓ E-commerce sellers (any turnover)
✓ Interstate suppliers (any turnover)
✓ Import-export businesses (any turnover)
✓ Taxpayers under the reverse charge mechanism
✓ Casual taxable persons
✓ Non-resident taxable persons
✓ Input Service Distributors (ISD)
✓ Taxpayers are required to pay tax under Section 24
Voluntary GST Registration:
You can register voluntarily even if turnover is below the threshold for:
- Business credibility and professionalism
- Claiming input tax credit
- Selling on e-commerce platforms
- Expanding to interstate markets
GST Registration Documents Required
Prepare these documents before starting GST portal registration:
Essential Documents:
- PAN Card (Personal/Business PAN)
- Aadhaar Card (linked with email and mobile)
- Proof of Business Address:
- Electricity bill (last 2 months)
- Rental/lease agreement (if rented)
- Property tax receipt (if owned)
- NOC from the owner + electricity bill (if neither owned/rented)
- Bank Account Proof:
- Cancelled cheque copy
- Bank statement (first page with account number)
- Passbook copy
- Passport-sized Photograph of proprietor/partners/directors
- Email Address (must be linked with Aadhaar)
- Mobile Number (must be linked with Aadhaar)
- Digital Signature Certificate (DSC) (for companies/LLP only)
- Authorization Letter (for authorized signatory)
Additional Documents (If Applicable):
- Partnership deed (for partnership firms)
- Certificate of incorporation (for companies)
- Udyam registration (for MSMEs)
- Import-Export Code (for exporters)
- LUT copy (for exporters)
GST Registration Fee
GST registration is completely free. There is no fee for applying for GST registration through the GST portal.
Costs Involved:
- Application Fee: ₹0 (Free)
- DSC Fee: ₹500-₹2,000 (for companies/LLP, optional)
- Professional Fee: ₹500-₹2,000 (if hiring a GST expert, optional)
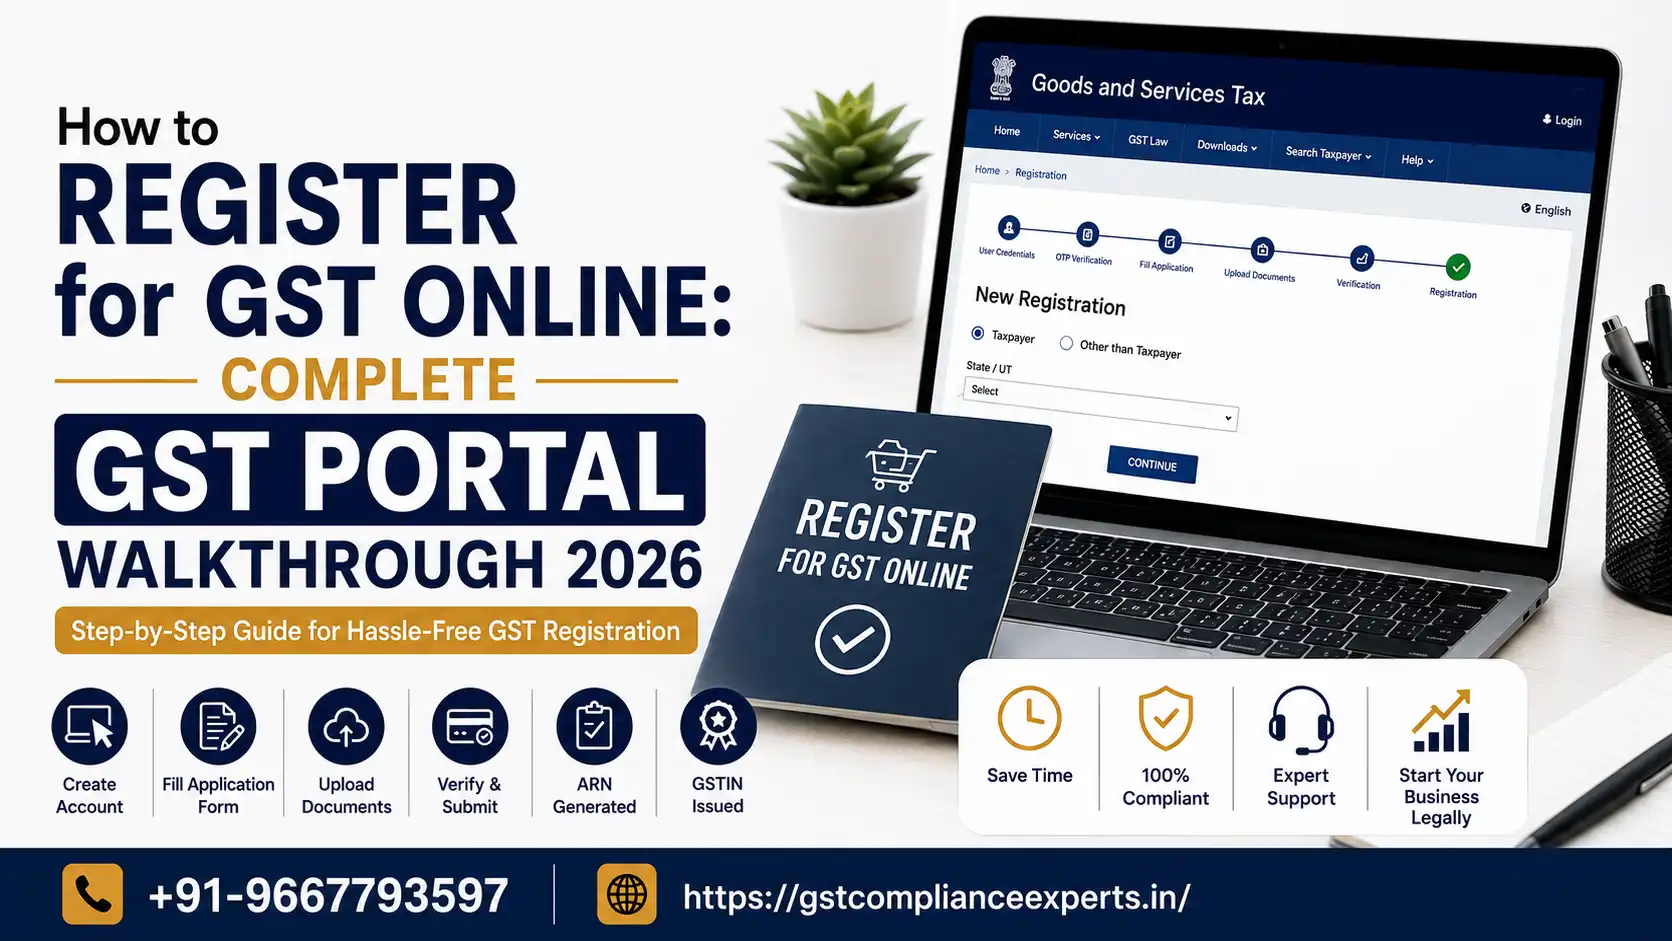
Step-by-Step Guide: How to Register for GST Online
Follow this complete GST portal walkthrough for successful registration:
Step 1: Visit GST Portal
- Go to www.gst.gov.in
- Click on Services in the top menu
- Select Registration
- Click on New Registration
Step 2: Fill Part A of the Application
- Select Tax Type: Choose “Goods and Services Tax”
- Select Registration Type: Choose “Regular”
- Enter State: Select your state from the dropdown
- Enter PAN: Enter your business/individual PAN
- Enter Email ID: Must be linked with Aadhaar
- Enter Mobile Number: Must be linked with Aadhaar
- Click Proceed: Submit the information
- OTP Authentication:
- OTP sent to email and mobile
- Enter both OTPs
- Click Submit
- Temporary Reference Number (TRN):
- TRN generated and displayed
- Save TRN immediately
- TRN is valid for 15 days
Step 3: Fill Part B of the Application
- Log in with TRN:
- Return to the GST portal
- Click Services → Registration → New Registration
- Select “Register Existing”
- Enter TRN and password
- Click Proceed
- Fill Business Details:
- Reason for Registration: Select appropriate option (crossing threshold, interstate supply, voluntary, etc.)
- State Jurisdiction: Select your state
- District Jurisdiction: Select your district
- Business Name: Enter the exact business name
- Constitution of Business: Select (Proprietorship, Partnership, Company, LLP, etc.)
- Date of Registration: Enter GST registration date
- Date of Commencement: Enter business start date
- Fill in Personal Information:
- Name of proprietor/partners/directors
- Date of birth
- Gender
- Email address
- Mobile number
- Upload photograph
- Address Proof:
- Enter complete business address
- Upload the address proof document
- Add the place of business details
- Select state and PIN code
- Bank Account Details:
- Enter bank account number
- Enter the IFSC code
- Upload a cancelled cheque or bank statement
- Add bank account type (Savings, Current, etc.)
- Authorized Signatory:
- Enter the authorized person’s details
- Upload photograph
- Select designation
- Documents Upload:
- Upload all required documents
- Ensure file size is within limits (5 MB max)
- Save in PDF/JPG format
Step 4: Verify and Submit Application
- Review All Information:
- Check business details
- Verify personal information
- Confirm address proof
- Validate bank details
- Submit Application:
- Click the Submit button
- For Companies/LLP: Sign with DSC (Digital Signature Certificate)
- For Others: Sign with EVC (Electronic Verification Code)
- EVC was sent to the registered mobile and email
- Enter EVC and confirm
- Application Reference Number (ARN):
- ARN generated after successful submission
- ARN saved on email and mobile
- Save ARN for future reference
Step 5: Tracking Application Status
- Check Status:
- Go to the GST portal
- Click Services → Registration → Track Application Status
- Enter ARN
- Click Search
- Status Options:
- Submitted: Application received
- In Progress: Officer reviewing
- Approved: GSTIN generated
- Rejected: Application rejected (with reason)
Step 6: Download GST Registration Certificate
- Once Approved:
- Log in to the GST portal with GSTIN
- Go to Services → Registration → View/Download Certificates
- Select the GST registration certificate
- Click Download
- Certificate Details:
- GSTIN (15-digit number)
- Business name
- Address
- Registration date
- Constitution of a business
- Authorized signatory
GST Registration Timeline
Typical Processing Time:
| Stage | Timeline |
| Application Submission | Instant |
| ** Officer Review** | 3-7 working days |
| Clarification (if needed) | 7-15 days |
| GSTIN Generation | Upon approval |
| Certificate Download | An instant after approval |
Total Time: 5-10 working days (without clarification)
Factors Affecting Timeline:
- Document quality and completeness
- Accuracy of information provided
- Officer workload
- Need for clarification or verification
- Type of business constitution
Common GST Registration Errors to Avoid
| Error | Impact | Prevention |
| PAN mismatch | Application rejected | Verify PAN before entering |
| Aadhaar not linked | OTP failure | Link Aadhaar with email/mobile |
| Wrong address proof | Clarification needed | Use valid address documents |
| Incorrect bank details | Rejection | Verify account number and IFSC |
| Photo quality poor | Clarification | Use a clear passport photo |
| File size too large | Upload failed | Keep under 5 MB |
| Wrong constitution | Processing delay | Select the correct business type |
| Incomplete documents | Rejection | Upload all required documents |
What Happens After GST Registration
After GSTIN is Generated:
- Start GST Compliance:
- Issue GST-compliant invoices
- File monthly/quarterly returns
- Pay GST on time
- Maintain Records:
- Keep all invoices and documents
- Maintain books of accounts
- Store records for 6 years
- Claim Input Tax Credit:
- Verify supplier GST compliance
- Match ITC with GSTR-2B
- Claim eligible ITC
- Register for Other Services:
- File LUT for exports
- Register for e-way bill
- Apply for MSME registration
When to Seek Professional GST Help
Consider GST Compliance Experts for GST registration if:
- Business constitution is complex (Company/LLP)
- Multiple business locations
- Interstate supplies from the start
- Import-export business
- Unsure about documents required
- Previous application rejected
- Need quick processing
- Want error-free registration
Conclusion
Registering for GST online is now simple with the complete GST portal walkthrough. The entire process is digital, free of cost, and takes 5-10 working days for approval. By preparing documents correctly, filling in information accurately, and following the step-by-step process, you can successfully register for GST without errors or delays.
Key Points for GST Registration:
| Point | Requirement |
| Point | Requirement |
| Fee | ₹0 (Completely free) |
| Documents | PAN, Aadhaar, address proof, bank proof |
| Timeline | 5-10 working days |
| Process | Online through the GST portal |
| Validity | Perpetual (until cancelled) |
| Certificate | Download GSTIN certificate |
Start your GST registration today and ensure your business is compliant with GST laws.
For assistance with GST registration, document preparation, application review, or faster processing, contact GST Compliance Experts for professional support.