GST compliance is one of the most important responsibilities for small retailers and traders in India. Whether you run a local shop, wholesale business, trading unit, or distribution business, proper GST compliance helps you avoid penalties, notices, and business disruptions while keeping your records clean and professional.
For many small businesses, GST feels complicated at first. But once you understand the basic requirements—registration, billing, return filing, input tax credit, and record keeping—it becomes much easier to manage. This guide explains GST compliance for small retailers and traders in a simple, practical way.
Why GST Compliance Matters
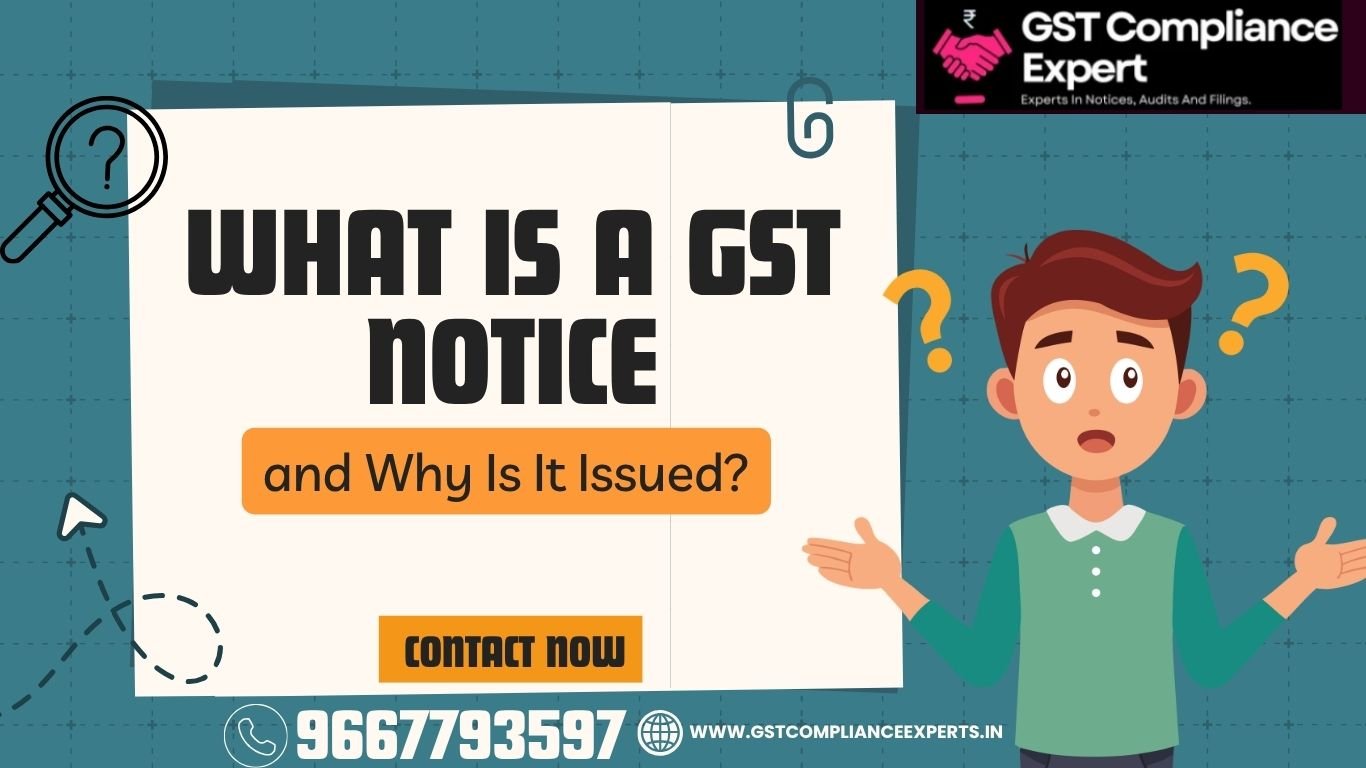
GST compliance is not just about filing returns on time. It affects how you bill customers, claim tax credit, handle purchases, and maintain your business reputation. If your GST compliance is weak, you may face late fees, interest, tax demands, or unnecessary notices from the department.
For retailers and traders, compliance also helps in day-to-day business dealings. Many suppliers, distributors, and corporate buyers prefer working with GST-compliant businesses because it makes billing and tax handling easier. In short, GST compliance supports both legal safety and business growth.
Who Needs GST Compliance
Most small retailers and traders need to follow GST rules if they are registered under GST or if their turnover crosses the applicable threshold limit. In many cases, registration becomes mandatory when the turnover limit is exceeded, or when the business is involved in inter-state supply, e-commerce, or other specified activities.
Even if your business is small, voluntary registration may still be useful if you deal with registered suppliers or want to claim input tax credit. Once registered, you must follow GST compliance rules regularly, even if sales are low in a particular month.
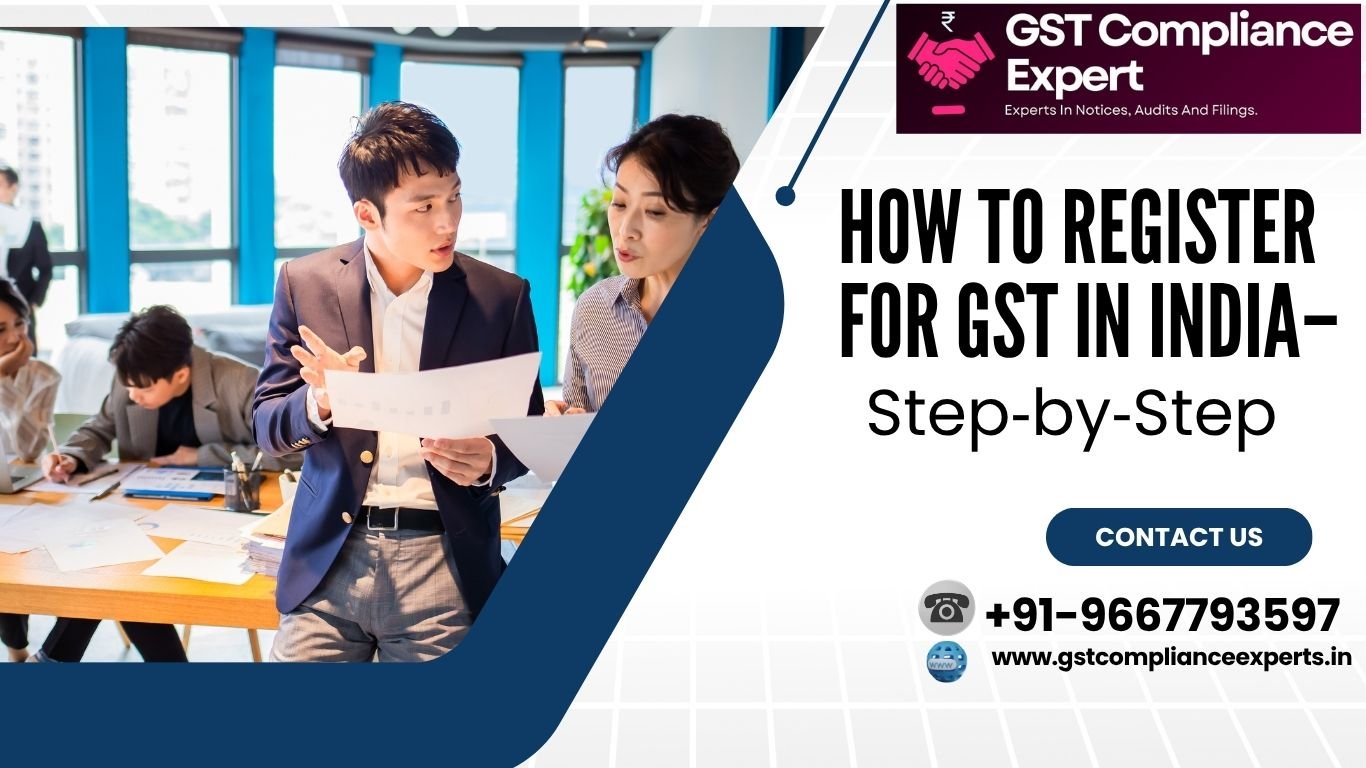
GST Registration for Retailers and Traders
The first step in GST compliance is correct registration. A retailer or trader should register under GST if the business meets the threshold or falls under mandatory registration rules. The registration process requires business details, PAN, address proof, bank details, and identity documents.
It is important to choose the correct business category and business activity during registration. Mistakes at this stage can create future problems in returns, invoicing, and tax classification. Once the GSTIN is issued, the business must use it on invoices and in all compliance filings.
GST Invoicing Rules
Proper invoicing is a core part of GST compliance for small retailers and traders. Every taxable sale should be supported by a GST-compliant invoice that includes the supplier’s GSTIN, customer details where required, invoice number, date, HSN code, taxable value, tax amount, and total amount.
For traders dealing in goods, invoice accuracy is especially important because it affects both outward tax liability and the buyer’s input tax credit. Incorrect invoice details can cause mismatches in GST returns and may lead to notices later. A simple invoicing system and regular review can reduce these risks.
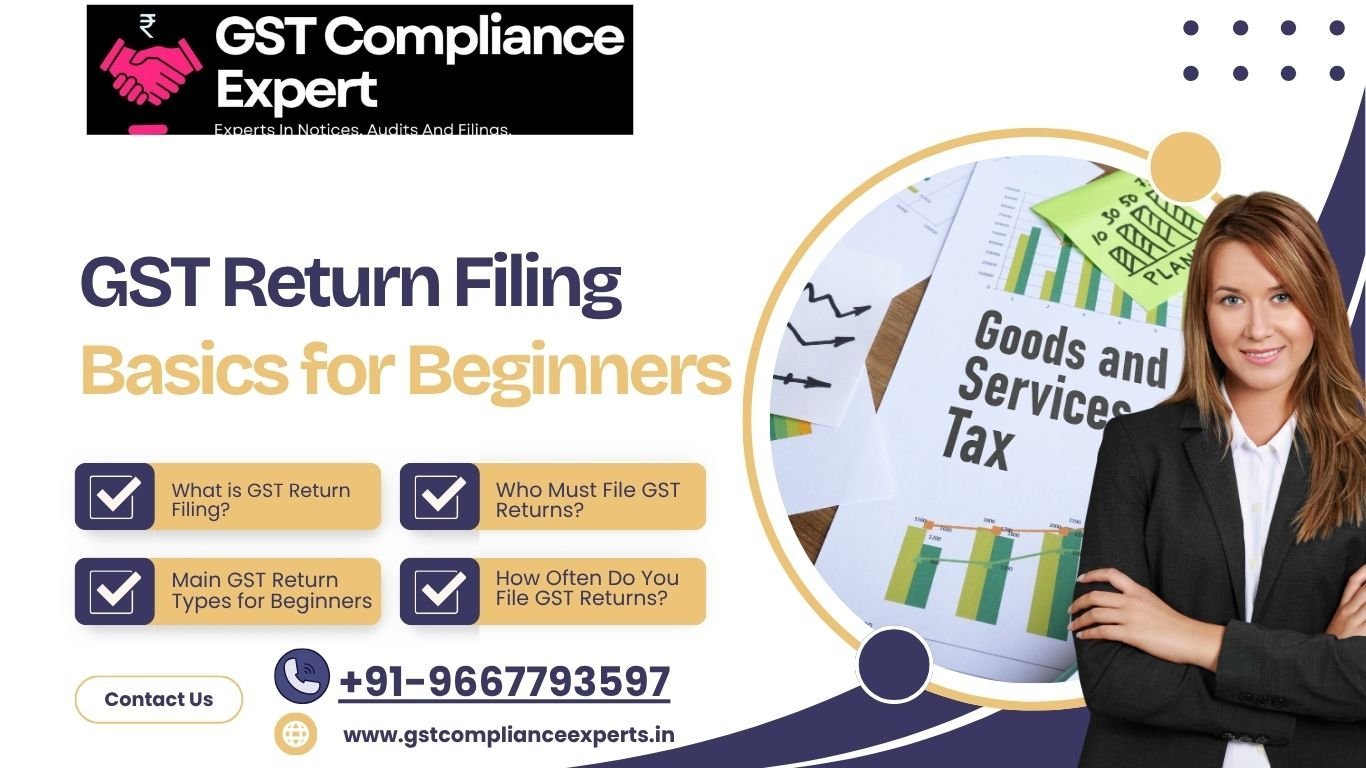
GST Return Filing Requirements
Registered retailers and traders must file GST returns as per their applicable category and filing frequency. The most common returns include GSTR-1 for outward supplies and GSTR-3B for summary tax liability. Some businesses may also need annual return filing depending on turnover and compliance requirements.
Timely filing is very important. Delays can lead to late fees, interest, and compliance issues. Small businesses should maintain a monthly or quarterly filing calendar so that returns are never missed. Even if there are no sales in a period, nil returns may still need to be filed.
Input Tax Credit for Traders
Input tax credit, or ITC, is one of the biggest benefits under GST. It allows traders and retailers to claim credit for GST paid on eligible business purchases, which reduces the overall tax burden. However, ITC can be claimed only when the supplier is compliant and the purchase is valid for business use.
To claim ITC properly, the purchase invoice must be genuine, the goods or services must be received, and the supplier must have reported the transaction correctly. Small retailers should regularly reconcile purchase records with GST data to avoid mismatches or ineligible claims.
Record Keeping and Reconciliation
Good record keeping is a major part of GST compliance. Small retailers and traders should maintain sales registers, purchase bills, debit notes, credit notes, payment proofs, and GST return copies. These records help during filing, audits, and notice replies.
Reconciliation is equally important. The sales shown in books should match GST returns, and purchase invoices should match eligible ITC claims. If there are differences, they should be corrected early instead of waiting for a departmental notice. Regular monthly reconciliation makes compliance much smoother.
Common GST Mistakes Small Traders Make
Many small businesses face GST problems because of avoidable errors. Some of the most common mistakes include missing return due dates, using wrong invoice details, claiming ineligible ITC, not reconciling sales and purchases, and failing to update registration details after business changes.
Another common issue is assuming that low turnover means no compliance is needed. Once registered, GST obligations continue until the registration is properly cancelled or amended. Ignoring compliance for even a few months can create a backlog that becomes difficult to fix later.
GST Compliance for Different Trading Models
GST compliance may vary depending on the type of retail or trading business. A local shop, wholesale trader, distributor, online seller, or multi-location trader may each have different reporting needs. Businesses that sell across states or through online platforms often face additional compliance requirements.
That is why GST compliance should not be handled with a one-size-fits-all approach. The business model, type of goods, number of invoices, and filing frequency all affect the compliance process. A tailored approach helps reduce mistakes and saves time.
How GST Compliance Experts Help Small Businesses
GST compliance experts can make things much easier for small retailers and traders. They help with registration, invoicing setup, return filing, ITC reconciliation, notice replies, and compliance planning. For business owners who are focused on sales and operations, professional support can reduce stress and save time.
Experts also help identify issues before they become problems. They can review books, fix mismatches, and guide businesses on the correct GST treatment for sales and purchases. For growing retailers and traders, this support can be valuable in maintaining smooth and error-free compliance.
Final Thoughts
GST compliance for small retailers and traders is not difficult once the basics are in place. The key areas are registration, proper invoicing, return filing, input tax credit, and record keeping. When these are managed consistently, the business stays compliant and avoids unnecessary notices or penalties.
For small businesses, the best approach is to stay organized and treat GST compliance as a regular part of operations. With the right system or professional support, even a small retailer or trader can handle GST smoothly and confidently.
Contact +91-9667793597
🌐 Visit: https://gstcomplianceexperts.in/